Made a bone head mistake this week. While testing on one of my machines I removed my user from the admin group, then changed the admin password. I also forgot to write down the admin password.
Yup, this means I now had a user configured that had no administrative privileges. Well, that sucks.
I was going to reimage the whole machine, but turns out there is an easier way if you are on Windows 10 and higher.
Enable Default Administrator Account
This is actually a pretty scary feature as it comes built into Windows 10 by default. You can enable the built-in Administrator account from the log in screen using the command prompt.
All you will need is a Windows Bootable USB, and you can create one easily following the instructions here: https://www.microsoft.com/en-us/software-download/windows10
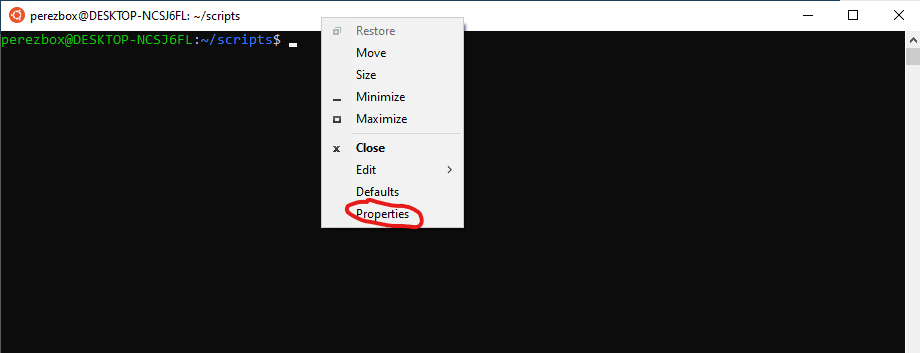
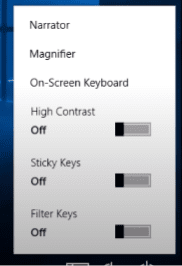
When you first boot your Windows device you’ll notice the following utility Manager:
You want to switch it so that when you click on it, it opens the command prompt instead of the utility manager. To do this you have to switch the programs, and you can do this by repairing the system.
1 – Boot From a Bootable Windows USB / Disc
You can make this change in your BIOS settings.
When the bootable disc opens, you’ll be be presented with the Windows Setup page, click NEXT.
The next page is going to ask you to INSTALL, don’t.
The bottom left you will see an option that read “Repair your computer“, click on it.
You will be presented with a few options, select “Troubleshoot“.
Select the “Command Prompt” option.
Here we’re going to swap the utility manager with the command prompt program.
copy c:\windows\system32\utilman.exe c:\
This should respond with 1 file(s) copied.
copy c:\windows\system32\cmd.exe c:\windows\system32\utilman.exe
This will respond with:
Overwrite c:\windows\system32\utilman.exe? (Yes/No/All):
Answer Yes.
Now Reboot the Machine.
2 – Enable Default Administrator
When your machine reboots, click on the same utility manager option on the screen. If done correctly, it should enable the command prompt:
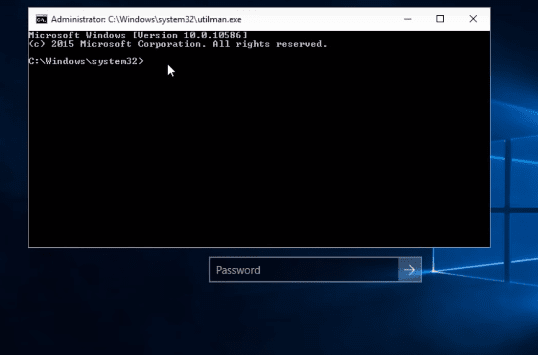
Now type this:
net user administrator /active:yes
This will enable the default system administrator, which by design has no password. Assuming you’re not on an enterprise machine, you can bet that it is likely still enabled.
Reboot the machine.
3 – Log In as Administrator
When the machine reboots you will see a new user – Adminstrator – on the screen. Select that user and log in.
Assuming you have not disabled this user, it should work.
TIP: This is actually a very scary feature that can be easily misused by bad actors so I recommend removing this user, or creating a different one, that isn’t the default moving forward.